Studio Life University: Follow a Signal From Source to Speaker
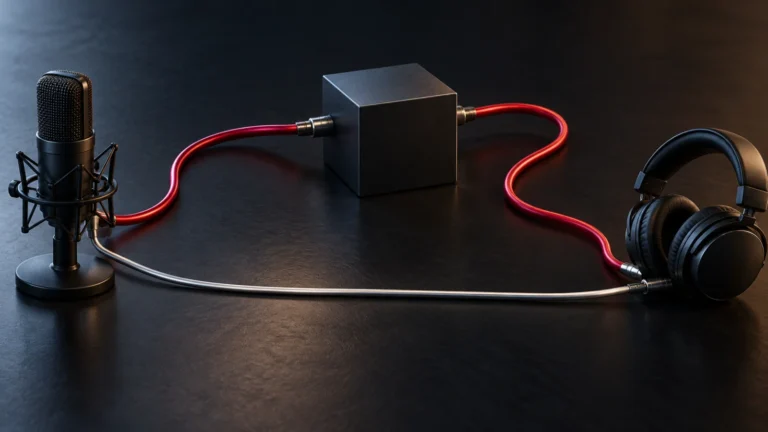
Signal flow is the route a sound takes through a recording or playback system.
Start reading ↓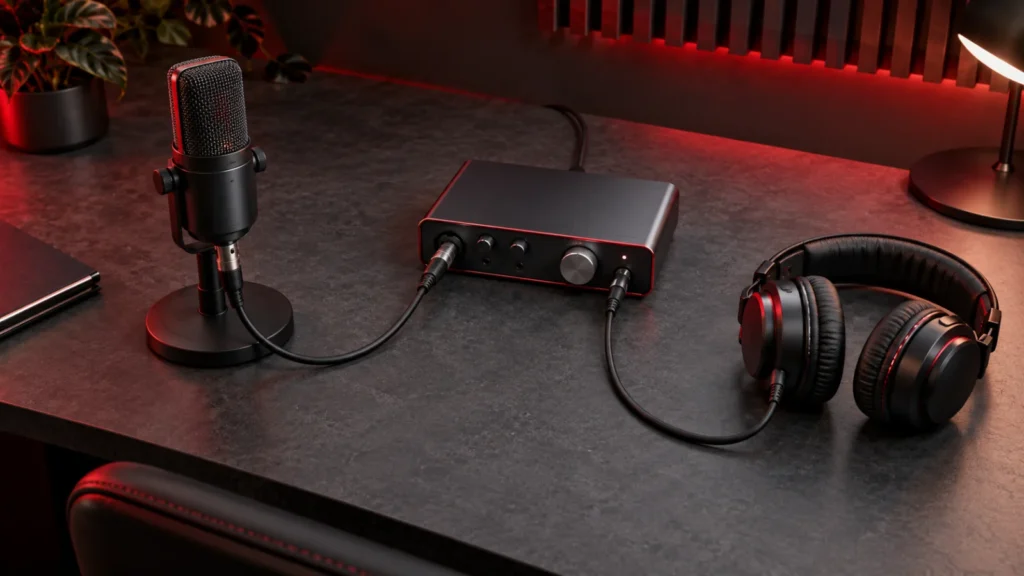
In this guide
Signal flow is the route a sound takes through a recording or playback system. Learning that route makes troubleshooting less mysterious and helps a beginner understand what each control can change. Studio Life University is an educational division, not an accredited institution. This introductory lesson requires no particular brand of equipment and makes no claim of professional certification.
Learning objective: describe the route
By the end of the exercise, you should be able to name the source, input, recording destination and listening output in a simple setup. A possible route is voice, microphone, interface preamp, converter, software track, interface output and headphones. Your actual system may combine some of those stages in one device.
Draw the route using the equipment you own. Label physical cables separately from software routing. Note where power is required and follow the manufacturer's instructions for microphones or accessories that need phantom power. Lower monitoring levels before connecting or rerouting equipment.
Find the first point with a signal
Use a normal, controlled source and observe the input meter. If the meter does not respond, inspect the source, connection, input selection and relevant gain control. Do not change several unrelated settings at once. If a meter responds but nothing is recorded, investigate the track's input, record-enable state and recording procedure.
Once a recording exists, move to playback. Check the track output, any group routing, master output and physical listening connection. A muted output and a missing input create different problems even though both can feel like no sound. Work along the route rather than jumping randomly between controls.
Practice with a short recording
Record a brief spoken phrase using material you are authorized to record. Play it back quietly, then identify which controls affect the recorded level and which affect only listening volume. Save the session and an audio export to separate, clearly named locations.
Now intentionally mute one software stage and diagnose the silence using your diagram. Restore it before changing anything else. This is a controlled learning exercise; do not disconnect unfamiliar equipment or experiment with unsafe electrical arrangements. Stop if you cannot identify a connection's purpose.
Demonstrate understanding
Explain the route to another learner or write a short account of it. Identify the difference between a signal entering a track and a recording being played back. Note one problem you encountered, the evidence that located it and the action that resolved it.
Next, study gain staging and monitoring latency to understand why a signal can be present but still unsuitable for a performer. Key takeaway: signal flow turns a confusing collection of controls into a sequence of testable stages. Follow the sound, identify the first failure and make one deliberate change at a time.
Practice lab: trace capture, playback, and monitoring
This simplified diagram describes a typical microphone-and-interface system. Some devices combine stages, and an interface may use an internal DSP mixer. Consult the equipment manual for its actual routing.
- Acoustic source
- Microphone: sound becomes an electrical signal
- Interface microphone preamp
- Analog-to-digital conversion
- Computer audio driver and selected DAW input
- Record-enabled track and saved audio file
- Recorded audio on a DAW track
- Track output, groups if used, and main output bus
- Selected interface playback channels
- Digital-to-analog conversion
- Output level control and headphone amplifier or powered speakers
Direct monitoring is a separate listening route: an interface can route its input to the listening output without a round trip through the computer’s DAW. That route may be analog or digitally mixed inside the device. It does not by itself prove that the DAW is recording. Software monitoring follows the DAW input and return route instead. Accidentally listening to both can cause doubled or delayed sound.
A controlled ten-minute exercise
- Lower output volume before changing connections. Use a microphone and cable you understand. Enable phantom power only when appropriate for the connected equipment and its instructions.
- Create a blank session and one audio track. Select the actual input. Name the track and save the project.
- Speak a short original phrase at the loudest intended performance level. Locate an input meter and set usable headroom without clipping; there is no universal required meter value.
- Choose one monitoring route. Listen quietly, record the phrase, stop, and play it back. Confirm a waveform or recorded file exists, then listen to the recording rather than relying only on an input meter.
- Mute the playback track temporarily. Describe which meter still responds and why the headphones become silent. Restore the mute before making any other change.
- Save, close, reopen, and replay. Write down the input, output, monitoring route, and the evidence that each worked.
Locate the first failed stage
| Observation | Next check | Avoid |
|---|---|---|
| No interface input response | Source, cable, input type, applicable power, and preamp control | Turning the speaker output up to solve a missing input |
| Interface responds; DAW input does not | Audio device, channel selection, permissions, and track input | Changing every driver and buffer setting together |
| DAW input responds; no recorded audio | Record enable, transport recording, file location, and saved take | Assuming direct monitoring proves recording |
| Recording exists; playback is silent | Track mute, buses, selected playback channels, output level, and listening connection | Re-recording a usable take before tracing playback |
| Voice sounds doubled while tracking | Whether direct and software monitoring are both audible | Adding effects to disguise a routing problem |
Completion checklist
- I can draw separate capture and playback routes.
- I can explain why an input meter is not proof of a saved recording.
- I can identify the chosen monitoring route and restore a deliberate mute.
- I can reopen the saved session and replay the take.
Continue with gain staging, monitoring latency, and the University learning pathways.
Routing reference: Focusrite’s explanation of direct monitoring. This is a learning exercise, not a report of a measured equipment test.
Sources & further reading
Source review: October 29, 2026. This is a researched educational feature, not an interview or a claim of firsthand testing. Legal, health and business decisions require context-appropriate professional guidance.