Monitoring Latency: A Practical Beginner’s Troubleshooting Lesson
Monitoring latency is the delay between producing a sound and hearing it through a monitoring path.
Start reading ↓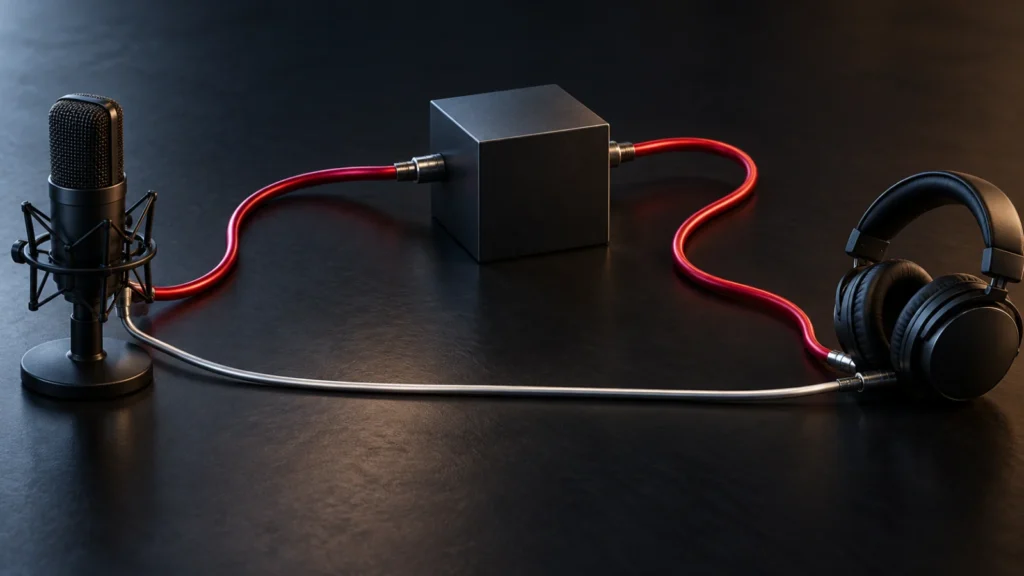
In this guide
Monitoring latency is the delay between producing a sound and hearing it through a monitoring path. A performer may notice it as an echo-like separation or a timing difficulty. The solution depends on where the delay originates. This lesson teaches a diagnostic approach rather than promising that one buffer setting will make every computer and interface behave identically.
Learning objective: distinguish the paths
Identify whether you hear the input through software, through a hardware direct-monitoring path or through both. Hearing both paths at once can create an unexpected combined sound. Read the interface and recording application's documentation before changing routing.
Software monitoring can involve input buffering, processing and output buffering. Some plugins introduce additional delay, and a busy project can behave differently from a simple one. A hardware path may avoid part of the software route but can have different control or effects limitations. Know which compromise suits the session.
Establish a simple baseline
Create a new test session with a single authorized source and no unnecessary processing. Use comfortable headphone levels. Record the interface, driver, sample rate and buffer setting so comparisons are meaningful. Do not begin by altering an important client project.
If the simple session behaves well, add complexity gradually. A problem that appears only after a particular processor or routing change provides useful evidence. If the problem exists from the start, check supported drivers and the manufacturer's recommended setup. Do not download unofficial driver utilities as a shortcut.
Change one variable and observe the trade-off
A smaller buffer can reduce part of the delay but may increase the processing demands on the system. The practical target is a stable setting that allows the performer to work comfortably, not the smallest number the menu permits. Listen for interruptions and record what changed.
Check the software's guidance on delay compensation and low-latency monitoring modes. These features have specific behavior and limitations. Avoid assuming that a setting intended for one host application has an identical meaning elsewhere. Do not manually shift recordings unless you understand the reason and have preserved an original version.
Record a repeatable result
Write down the successful setup and any restrictions, such as bypassing certain processors during tracking. Confirm that normal playback and recording still work after the change. Restore the original settings if the experiment makes the system less stable.
Next, build a session template with a simple tracking path and a separate mixing stage. Key takeaway: latency troubleshooting begins by identifying the monitoring route and testing a minimal session. A documented, stable compromise is more useful than an unexplained promise of zero latency.
Sources & further reading
Source review: October 29, 2026. This is a researched educational feature, not an interview or a claim of firsthand testing. Legal, health and business decisions require context-appropriate professional guidance.