Choosing an Audio Interface Around the Session You Actually Run
An audio interface is a working connection between sources, a computer and a listening system.
Start reading ↓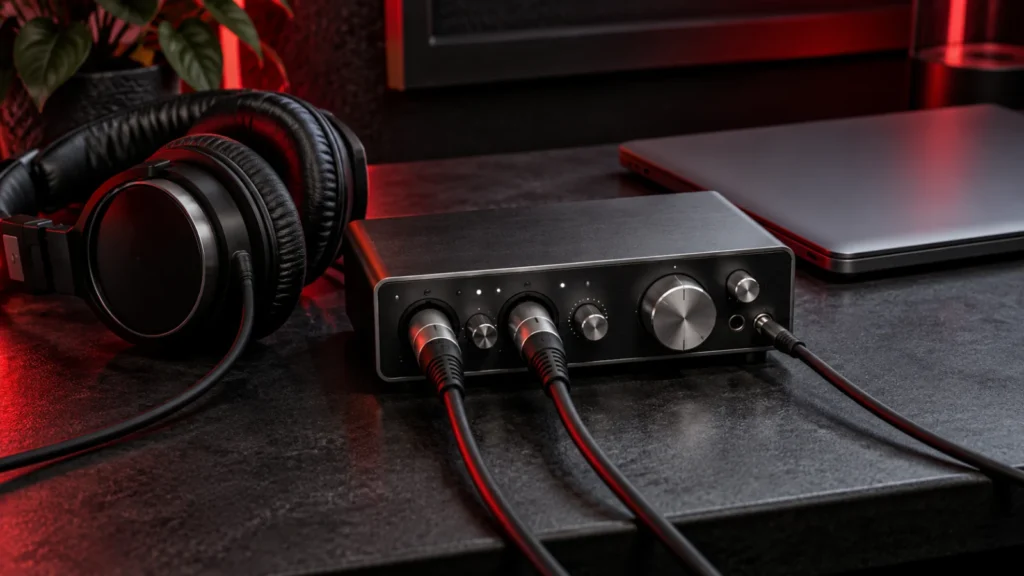
In this guide
An audio interface is a working connection between sources, a computer and a listening system. The useful buying question is not which box has the longest feature list. It is whether the device can record the session you intend to run without awkward workarounds. Start with that session on paper before comparing specifications. This is a research-based selection framework, not a hands-on product review or a ranking of current models.
Count simultaneous sources, not total ambitions
Imagine recording a singer and an acoustic guitar together. Write down every microphone and instrument signal that must arrive separately. A headphone output is not another microphone input, and a digital expansion connector does not necessarily include the equipment needed to use it. Check the actual input types, the number of microphone preamps and whether an instrument needs a dedicated high-impedance input.
Now consider monitoring. Two performers may need different balances, while a solo podcaster may need only one reliable headphone feed. Independent headphone sockets and independent mixes are different capabilities. Trace the signal path in the manufacturer's manual rather than inferring functionality from the front panel. Leave genuine expansion needs on the list, but distinguish next month's work from a hypothetical future studio.
Check compatibility and power requirements
Verify supported operating-system versions, connection type, driver availability and the manufacturer's current support information. A connector adapter can change a physical connection without solving driver or power compatibility. Laptop users should also check how the interface is powered and whether a hub is supported.
Some microphones require phantom power; others have different requirements. Follow the microphone and interface documentation, particularly with ribbon microphones, unusual wiring and vintage equipment. Do not use phantom power as a general-purpose sound-quality switch. Turn monitoring down before making connections and follow the manufacturer's recommended connection procedure.
Compare the complete recording workflow
Latency is the delay through the monitoring path, not simply a large or small number printed in an advertisement. Computer buffering, conversion and processing all contribute. Direct monitoring may help a performer hear an input without the same software path, but its routing and available effects vary by device. Check whether the workflow meets your needs before treating a specification as a guarantee.
Make a short comparison sheet with columns for inputs, headphone mixes, driver support, direct monitoring, included power supply and return policy. Include cables and any necessary accessories in the total cost. A less expensive unit that requires several adapters may not be the simpler system.
Plan an acceptance session
During an appropriate return period, test a real source at normal working levels, record several takes, reopen the session and check playback on the intended outputs. Listen for interruptions and confirm that the performer can monitor comfortably. Keep the test conditions and software versions in your notes. These are suggested owner tests, not results obtained by StudioLife 10X.
Key takeaway: choose the interface that makes a specific recording session dependable. Enough suitable inputs, understandable routing and supported software matter more than unused headline features.
Sources & further reading
Source review: October 29, 2026. This is a researched educational feature, not an interview or a claim of firsthand testing. Legal, health and business decisions require context-appropriate professional guidance.