
Compare Microphone Distance With a Repeatable Placement Test
Compare microphone distance and angle with controlled takes, clear notes, sensible playback levels, and a practical check inside the arrangement.
Start reading ↓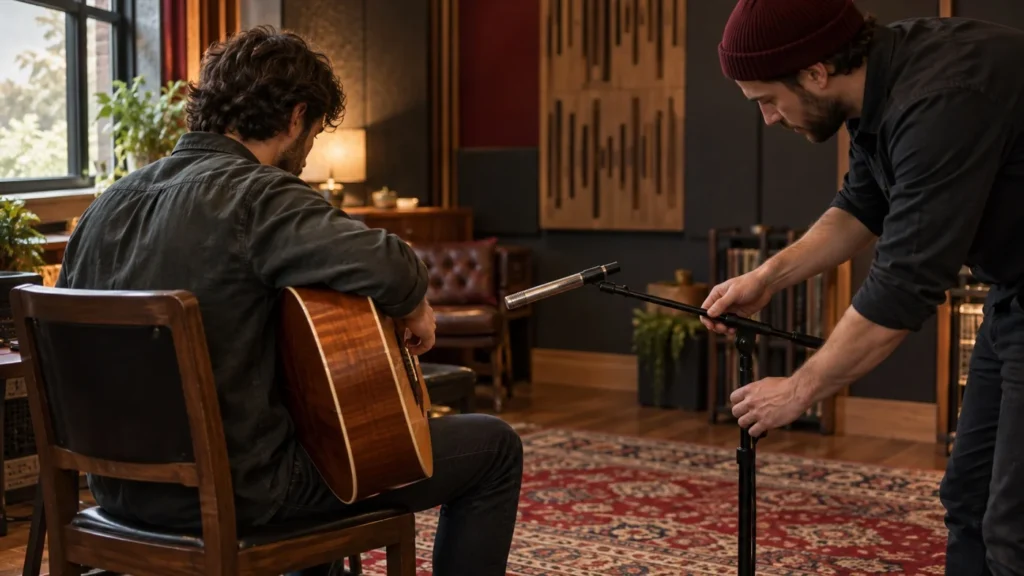
In this guide
Microphone placement is easier to understand when the comparison changes one meaningful variable. Moving the microphone, changing the preamp gain, asking for a different performance, and adding processing together can produce a new sound without revealing why it changed. A short repeatable test makes placement a deliberate choice rather than a sequence of guesses.
The purpose is not to discover a universally correct distance. It is to find a useful position for a particular source, room, microphone, and production goal. A clear record of what changed helps the engineer make the next decision and reproduce a promising result later.
Define the question before moving anything
Choose the issue you want to examine: excessive room sound, plosives, low-frequency buildup, uneven tone, or another audible concern. Describe it in ordinary listening terms before naming a solution. The same complaint can arise from different causes, so a problem statement is more useful than a preset distance.
Identify the intended production role. A close intimate vocal and a roomy ensemble recording may call for different balances. A position that serves one purpose can be unsuitable for another without being technically wrong. The comparison needs a goal that explains what the engineer is listening for.
Keep the source reasonably consistent
Ask the performer to repeat a short representative passage at a comfortable level. Include relevant loud and quiet moments where practical. Do not demand an unnatural performance merely to make a test look controlled. The result should inform the real session, not a laboratory scenario unrelated to the music.
For an instrument, keep tuning, playing position, and relevant settings stable. A changed guitar tone or a shifted chair can obscure the effect of microphone distance. Perfect repeatability may be impossible, but reducing deliberate changes makes the evidence easier to interpret. Record limitations rather than pretending the performance was identical.
Choose a small set of positions
Start with practical positions that respect the microphone's intended address and the source's movement. Check whether the microphone is end-address or side-address from its documentation. Pointing at the wrong surface can create a confusing result that distance alone will not explain.
Use a stand and a simple measurement or physical reference to record each position. Keep walkways clear and avoid placing equipment where a performer may strike it. Do not move a heavy boom over someone without a safe setup. Practical session safety matters more than achieving an arbitrary geometric pattern.
Separate distance from angle
Distance and angle can both affect the recorded balance. If the question concerns distance, keep orientation reasonably consistent during that comparison. Then test angle separately if needed. Changing both at once may still produce a useful sound, but it does not isolate which choice contributed.
Consider the source's size. A microphone close to one part of an acoustic instrument may emphasize that region, while a more distant position can capture a broader balance along with more room. There is no single number that makes every instrument sound complete. Listen to the actual source in its intended role.
Record clean comparison takes
Use a supported recording route with enough headroom for the loudest expected passage. Avoid adding compression, corrective EQ, or other processing that could hide placement differences unless that processing is itself part of a separate defined test. Preserve the clean source where the session plan requires it.
Label takes with clear position identifiers and notes. Do not rely on memory after several similar recordings. If a gain adjustment is necessary to avoid clipping, record it. A changed input setting does not invalidate all learning, but it affects what can be inferred about level and noise.
Work through a hypothetical vocal comparison
Imagine a singer whose first take has a strong low-frequency buildup and occasional plosive bursts. The engineer records a short phrase at two practical distances with the same microphone orientation, then makes a separate modest angle comparison. A pop filter remains in a consistent position where suitable.
The files are reviewed at comparable listening loudness. One position reduces the problem while retaining the intended intimacy. That is a useful result for the tested session, not proof that the chosen distance suits every singer or that microphone type alone eliminates room sound. The engineer records the position and verifies it on a fuller performance.
Compare at a sensible listening level
A louder example can seem more detailed or exciting even when its balance is not more useful. Match playback levels approximately for a fair practical comparison while preserving the originals. Do not confuse the amount of gain applied for listening with a measurement of microphone quality.
Take breaks when necessary and keep monitoring comfortable. Repeatedly turning up the same short phrase can make judgment less reliable and increase exposure. The test should help the session move forward, not become an exhausting attempt to hear a difference that may not matter in context.
Listen for the relationship to the room
Moving closer can change the balance between direct sound and room contribution, but the result depends on source, pattern, placement, and room. Do not describe any microphone as automatic noise cancellation merely because it is used close. Background sound can remain audible, and a closer source can introduce other tradeoffs.
Check pauses and sustained notes as well as the strongest phrase. Room decay, mechanical noise, and headphone spill may become easier to hear outside the loudest passage. A position should be judged against the whole intended recording rather than a single flattering syllable.
Evaluate inside the arrangement
After the isolated comparison, place the promising take in a relevant musical context. A fuller solo sound may crowd the arrangement, while a leaner capture may work naturally with other instruments. The goal is a useful production choice, not the most impressive isolated sample.
Avoid immediately adding several processors to make every option converge. First decide which source gives the most suitable starting point. If processing is needed, apply it deliberately and preserve the ability to revisit the original. A placement test should reduce uncertainty rather than create another layer of irreversible edits.
Save a practical result
Record the microphone, address, approximate position, orientation, source setup, important room conditions, and any gain changes. A photograph may help if appropriate and authorized, but avoid capturing private information or implying a documentary test that was not performed. A concise note can be enough to reproduce the setup.
Verify the chosen position with the actual performance before treating the soundcheck as finished. A singer may move more during a full take, or an instrument may change level across sections. The useful test identifies a starting point and the conditions under which it worked.
A repeatable placement comparison turns listening into a practical decision process. Ask one question, keep the source and route reasonably stable, record clear positions, and compare in context. The result is not a universal distance rule. It is a better-supported choice for the recording in front of you.
Keep learning
- Build a Recording Session That Another Engineer Can Understand
- Gain Staging Without the Magic Number
- EQ and Compression: Two Different Questions in a Mix
- Exporting a Mix: A Delivery Checklist That Prevents Avoidable Rework
Continue through Studio Life University — Built for the Grind.
References and scope
Educational guidance. Examples are hypothetical; no personal equipment testing, client results, or professional accreditation is claimed.