
Choose a First Studio Microphone by the Whole Recording Setup
Choose a first studio microphone around the source, room, interface, support equipment, and a complete recording path rather than reputation alone.
Start reading ↓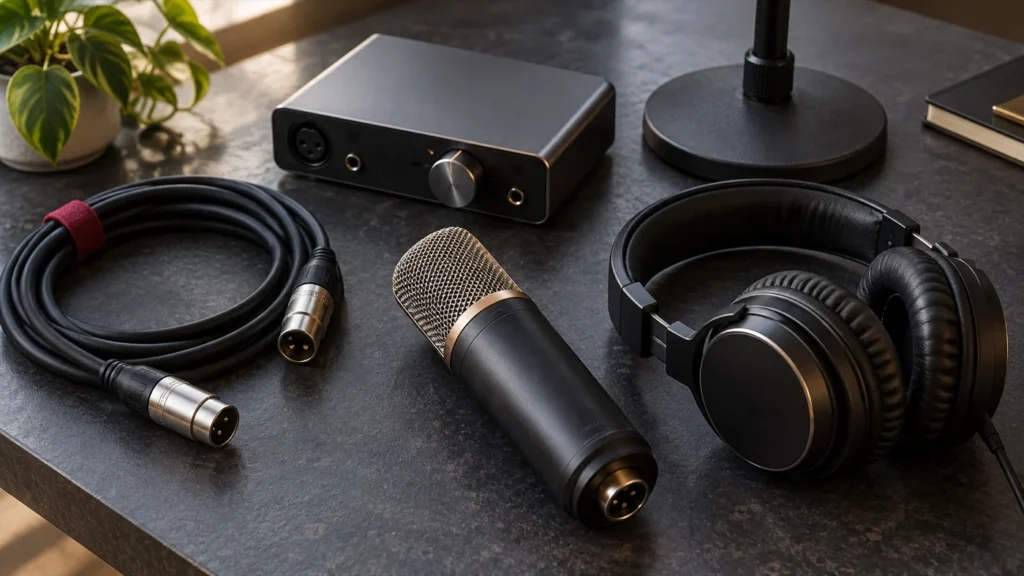
In this guide
This is a researched buying guide, not a hands-on product test. Featured artwork is conceptual and does not depict the exact models discussed.
A first studio microphone should help you complete a recording, not leave you with an impressive object and several missing connections. The useful question is which microphone fits the source, room, interface, monitoring arrangement, and way you intend to work. Its price and reputation are only part of that decision.
Start with one realistic session. A singer recording alone, a songwriter capturing acoustic guitar, and a podcaster sharing a room do not necessarily need the same setup. Define that job before comparing model names. A complete usable path usually teaches more than a microphone chosen for a hypothetical studio you do not yet operate.
Write a one-session requirements sheet
Name the source, number of simultaneous performers, recording location, available inputs, and intended delivery. Include whether you need an XLR recording chain or a different supported connection. Do not assume every product bearing a familiar family name connects in the same way.
List what you already own and what remains missing. An XLR microphone typically needs a suitable cable, microphone input, stable support, and a monitoring arrangement. Some condenser microphones need phantom power from appropriate equipment. Verify the actual model's instructions and the interface's capabilities rather than treating the microphone as an isolated purchase.
Listen to the room before shopping
Record or listen to a short representative passage in the intended space. Note traffic, computer fans, reflections, and other interruptions. A microphone's pattern and placement influence the capture, but buying a different type does not automatically remove the room. Avoid recommendations that describe ordinary microphones as universal noise cancellation.
Consider safe placement changes and quieter recording times before assuming that more expensive equipment is required. A manageable source-to-microphone relationship can be more useful than a prestige model used too far away in an unsuitable location. The first purchase should fit the environment you can actually provide.
Understand what dynamic and condenser describe
Dynamic and condenser identify different microphone operating principles, not a simple ladder from beginner to professional. Both categories include tools used for serious recording. The meaningful comparison includes the source, pattern, response, power requirements, output, and practical placement for the actual session.
Do not infer that one type always captures less background sound because its output is lower. If gain is adjusted to achieve a comparable source level, the practical result depends on more than sensitivity alone. Compare the complete setup and recording approach. A microphone choice should answer a defined need rather than repeat a slogan about untreated rooms.
Match the interface to the microphone
Verify the intended input, available gain, power requirements, and monitoring route. A microphone that works through one interface may require different settings through another. An interface's instrument socket is not automatically the correct input simply because the source is musical.
A USB microphone and an XLR microphone may serve different workflows even when they share a familiar name. If you want to record several sources through one interface, check that the proposed arrangement supports it. Do not assume multiple unrelated USB devices will behave like a straightforward multi-channel recording interface.
Budget for support and handling
A stand must safely support the microphone and any mount or filter. Check thread compatibility, load, reach, and desk or floor placement. A long boom extended beyond a stable base can be a poor choice even when the microphone itself is lightweight. Keep equipment out of the performer's movement path.
Include an appropriate cable and practical plosive control for voice recording. Confirm what the selected package actually includes; product variants and bundles can differ. A photo showing an accessory does not establish that it arrives in the box. Use the current listing and manufacturer documentation to settle those details before purchase.
Work through a hypothetical first purchase
Imagine a songwriter with an interface, one suitable microphone input, and a small room shared with a computer. The next project is a vocal recorded separately from the guitar. The requirements sheet therefore prioritizes one reliable vocal route, a stable stand, a suitable cable, and a usable headphone balance.
The songwriter compares a cardioid dynamic option with a cardioid condenser option and checks each against the actual input and power arrangement. The decision is not which technology is universally superior. It is which complete setup can be used comfortably and consistently for the next recording. No firsthand model test is implied by this example.
Evaluate limitations before buying
Ask what the proposed microphone will not solve. It cannot automatically improve an inconsistent performance, eliminate every room reflection, or correct a clipped input later in the chain. A vocal-oriented model may also be less convenient for a different placement or source than another available tool.
Consider handling, mounting, storage, and future service as practical issues. Avoid paying for multiple microphones that fill the same immediate role while leaving the rest of the signal path incomplete. An upgrade is easier to justify when you can describe a current limitation and a meaningful way to test whether the new equipment addresses it.
Plan a fair first-session check
After purchase, follow the documentation, verify the route, and record a representative passage with sensible headroom. Compare a few practical positions while keeping the source reasonably consistent. Change one relevant variable at a time and write short notes about what improved.
Listen to the recording in its intended context. A solo voice that sounds impressive in isolation may need a different balance within a production. Do not judge the purchase only by waveform size or a louder playback level. The useful result is a recording that supports the project and a setup you understand well enough to repeat.
Make the first microphone a learning tool
Save the microphone position, route, important settings, and an example recording you are authorized to retain. Use that record to distinguish equipment limitations from workflow problems. Familiarity with one appropriate microphone can make later comparisons more meaningful than collecting several unfamiliar models at once.
A successful first purchase completes a practical recording path and supports deliberate learning. Choose around the source, room, connection, and budget, then verify the result through actual use. The equipment examples below illustrate two different routes; neither is a universal winner, and the artwork is conceptual rather than a photograph of either model.
Verified equipment examples
StudioLife 10X may earn a commission from qualifying purchases through product links in this section. Read our affiliate disclosure.
These are researched options for the roles explained above, not a ranking or a promise of results. Confirm the current listing, exact variant, included accessories, and compatibility before purchase.
Shure SM58
Intended fit: A cardioid dynamic XLR vocal microphone to consider for a straightforward vocal route with a suitable microphone preamp. Its familiar handheld format can also be mounted on an appropriate stand.
Limitations and checks: Check the exact switch or cable variant, required preamp gain, and included support accessories. It does not cancel room sound or remove the need for placement and a usable recording space.
Audio-Technica AT2020
Intended fit: A side-address cardioid XLR condenser option for a recording setup with a suitable microphone input and the power arrangement specified by Audio-Technica.
Limitations and checks: This is the XLR AT2020, not a USB model. Verify phantom power, stand and mount compatibility, current package contents, and the way the actual room contributes to the capture.
Keep learning
- Choosing an Audio Interface Around the Session You Actually Run
- Microphone Selection Starts With the Room and the Performance
- Headphones and Monitors: Give Each a Clear Job
- The 10X Breakdown: Read Gear Specifications Without Buying the Headline
References and scope
Educational guidance. Examples are hypothetical; no personal equipment testing, client results, or professional accreditation is claimed.